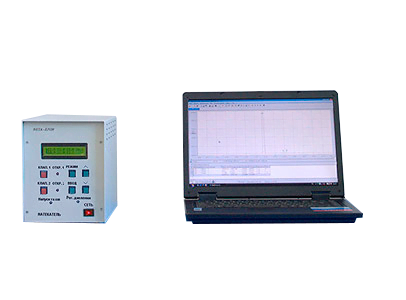
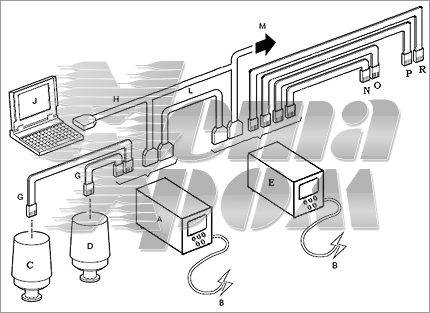
Software and hardware complex for automation of work of the measuring microscope IMC 100×50 or similar was developed and is now produced. The complex allows you to automate the process of measuring the linear dimensions of objects. The measurement is done by two coordinates simultaneously.
The program allows you to calculate the parameters of the measured objects in accordance with the requirements of the customer. All information about the measured object can be stored on the hard disk of a personal computer. It is possible to output the measurement Protocol in the format agreed with the customer. The program has a graphical interface, a system of tips, help, can be modified for a specific customer.
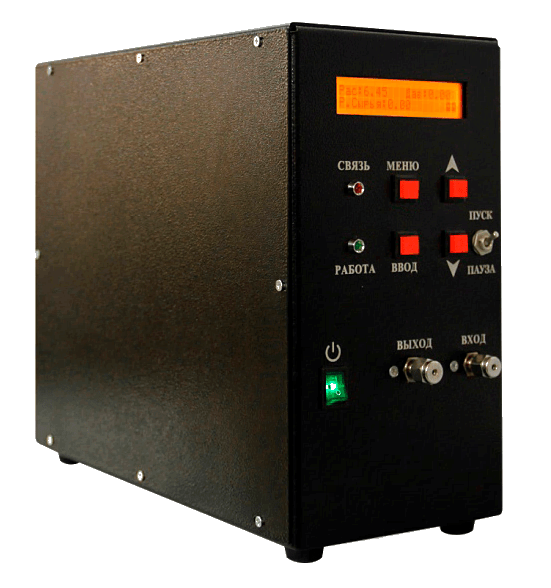
The basis of the complex is EDCE-2 (encoder data conversion equipment), which is designed to supply power to encoders by X and Y coordinates, convert the data coming from them, and transfer the processed data to a personal computer via a serial data channel RS-232C for further processing.
EDCE can be used in various sectors of the economy, in factory and research laboratories. EDCE provides display of measurement results of absolute coordinates X, Y on the screen of the personal computer in the form of tables with synchronous recording to the hard drive and the ability to print data on the printer, as well as carrying out mathematical and statistical calculations in accordance with the methodology of the customer.
The electronic unit operates independently from the mains 220V, 50Hz.
Technical parameters
- Data counter bit width — 32 bit.
- Data transfer rate — 9600 baud.
- The maximum frequency of the input counting pulses of — 100 kHz.
- Coordinate system — absolute.
- Zeroing of counter data registers — software.
- Power consumption, not more than — 30 watts.
- Overall dimensions (width×depth×height), not more than — 265×180×50 mm.
- Weight, not more — 2 kg.

